
WinMerge is an open-source file comparison and merging tool designed to help users identify differences between file versions and synchronize them effectively. It benefits developers, content creators, and anyone who needs to keep track of changes in text files, source code, or directories.
By installing WinMerge, you gain access to a robust set of features allowing easy and intuitive comparison of files and folders. This tool highlights differences with visual cues, making it straightforward to spot changes and merge files accurately. WinMerge supports various file types and offers customization options to suit your needs.
Whether managing document versions, ensuring codensuretency, or simply keeping organized, WinMerge is invaluable. This guide will walk you through the process of downloading, installing, and setting up WinMerge on your computer, ensuring you can start using it efficiently in no time.
Step-by-Step Guide to Installing WinMerge
Step 1: Download WinMerge
- Instructions:
- Open Your Web Browser: Open your preferred web browser (such as Chrome, Firefox, Edge, etc.).
- Navigate to the Official Download Page: Type in the URL https://winmerge.org/downloads/ in the address bar and press Enter.
- Locate the Installer: On the downloads page, find the latest stable release of WinMerge. This will typically be highlighted or listed at the top.
- Download the Installer: Click the appropriate installer link (usually a .exe file) to start downloading. Ensure you choose the correct version for your system (32-bit or 64-bit).
Step 2: Run the Installer
- Instructions:
- Locate the Downloaded File: Once the download is complete, navigate to the folder where the installer file was saved, usually the “Downloads” folder.
- Start the Installation: Double-click the installer file (it will have a .exe extension) to begin the installation process. If prompted by a security warning or User Account Control (UAC) prompt, click “Yes” or “Run” to proceed.
Step 3: Follow the Installation Wizard
- Instructions:
- Welcome Screen: The WinMerge Setup Wizard will open with a welcome screen. Click “Next” to continue.
- License Agreement: Read through the License Agreement. If you agree to the terms, select “I accept the agreement” and click “Next” to proceed.
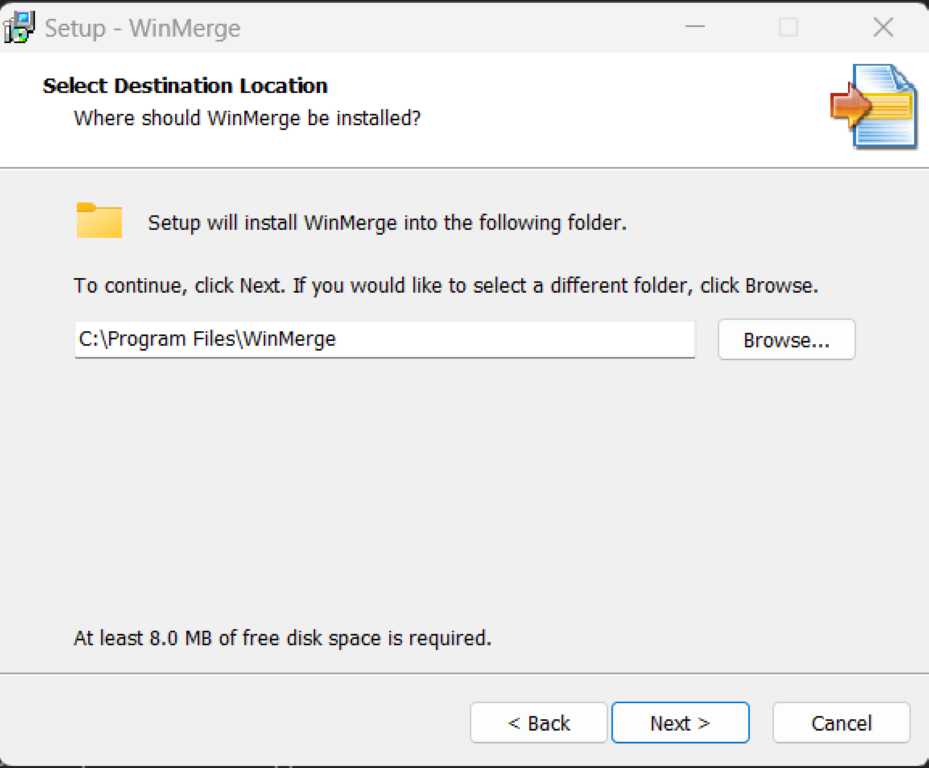
- Choose Installation Location: You will be prompted to choose a destination folder for WinMerge. The default location is usually fine for most users. Click “Next” to accept the default or specify a different location.
- Select Components: Choose which components you want to install. The default selections are typically sufficient for most users. Click “Next” to continue.
- Start Menu Folder: Choose the Start Menu folder where the WinMerge shortcuts will be placed. The default setting is usually acceptable. Click “Next” to proceed.
- Additional Icons: Decide if you want to create a desktop shortcut or additional icons. Check the boxes for your preferences and click “Next.”
- Ready to Install: Review your installation settings. If everything looks correct, click “Install” to begin the installation process.
Step 4: Complete the Installation
- Instructions:
- Wait for Installation to Finish: The installer will copy files and complete the installation. This may take a few moments.
- Completion Screen: You will see a completion screen once the installation is finished. Click “Finish” to exit the Setup Wizard.
- Locate WinMerge: If you select to create a desktop shortcut, the WinMerge icon will be on your desktop. Otherwise, it can be found in the Start Menu under your specified folder.
Step 5: Launch WinMerge
- Instructions:
- Open WinMerge: To launch the application, double-click the WinMerge icon on your desktop or find it in the Start Menu.
- Verify Installation: When WinMerge opens, you can verify that the installation was successful by ensuring the program loads without errors and is ready for use.
Additional Configuration (Optional)
Instructions:
- Access Options: Open WinMerge and go to “Edit” > “Options” from the top menu.
- Customize Settings: In the Options menu, you can configure various settings such as file filters, color schemes, and other preferences to tailor WinMerge to your needs.
Conclusion
You’ve successfully installed WinMerge by downloading the installer, running it, and following the setup wizard. Now, explore WinMerge’s features to compare and merge files efficiently. Customize your settings through the Options menu to suit your preferences. For any questions or help, visit the WinMerge support page or user forums. Enjoy streamlining your file management with WinMerge!